
I didn't want to spend a lot of money on this so I went to the dollar store and came home with:
A pretty large book
Two rolls of 2 1/2" satin-ish ribbon
A small package of Glue Sticks
One of those green florist rings
The green ring had square edges so I took a kitchen knife to it and carved until the edges were round. I didn't worry about the back side, just the top outside and inside. It was messier than I thought it would be but in the end wasn't too bad.
I wasn't sure if hot glue would stick to the green florist ring very well so decided to wrap it with one of the rolls of ribbon. The ribbon turned out to be a good call as a friend assured me hot glue would not have worked well. Plus, this ivory ribbon was much better peeking through than the green would have been.

Next I took the cover off the book and started cutting out pages with a box knife.

After a while, the pages started getting smaller as the parts of the pages left behind got thicker. Eventually I cut the spine with my kitchen scissors and was able to take the pages out like it was a tablet. Much Better.
Next, I stacked about 6 pages and cut out large circles. I tried drawing a circle first but ended up just freehand cutting them as it was easier for me. Feel free to use a small bowl or plate to trace around. I did try cutting out an oval to use more of the page but found out that made for some really wild flowers that were harder to roll.
Next, I cut the circles in a spiral. I tried drawing this first but again, it was easier to freehand cut them. I liked that each set of 6 or so were different as I never cut the spiral exactly the same. I did also discover that the center should be fairly small.

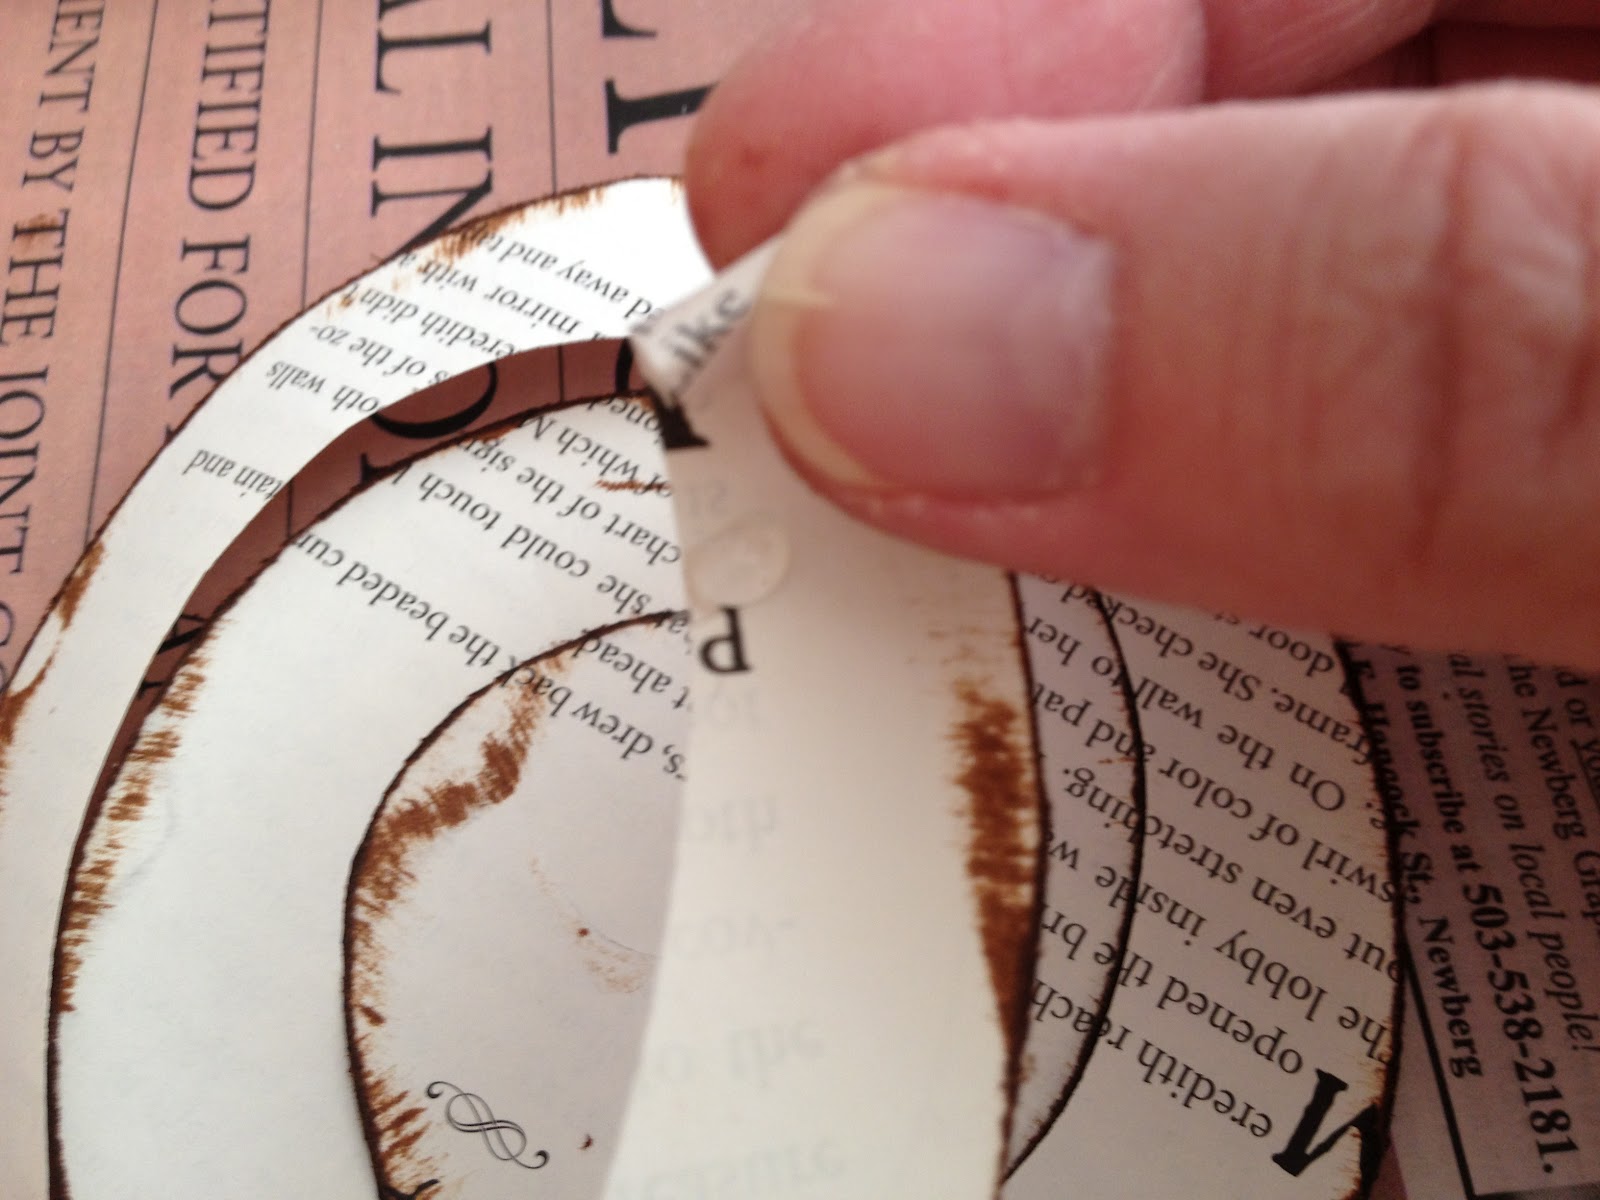
Next, I took the curly-cue pieces and rubbed the outside edges on a brown distressed ink pad to give the flowers an aged look.

This step is optional. Here you can see what the flowers look like with and without the ink.


Next, grab the skinny end not the fat middle and start rolling.

Every couple of rolls, put a small dot of hot glue. Ignore my sad looking hands and split thumbnail!
Keep rolling until you get to where only the middle circle is left.


Use that bottom flap/circle to make the bottom of the flower. Add a glob of hot glue and press down. I used a scrap piece of wood to protect my table.


Now is the fun part. The last part was the slightly tedious part. My son is in next year's High School Musical, Fiddler on the Roof so we watched the DVD while I was cutting, inking and rolling. Nice!

My husband thought it didn't look too bad with just a few flowers on the wreath so that's an option as well. I ended up using about 85 rolled flowers.


Taaaa Daaaaa!
It's driving me crazy that I didn't trim the ends of the ribbon before I took this picture!
Have Fun!